
TOC
ad
Overview
Windows often has certain default settings disabled for waking the PC from sleep using a keyboard. Below are three places where you can change the settings. Once configured, simply pressing any key on your keyboard will wake the PC from sleep. Note that some computers require specific USB ports (e.g., “Smart Power On” ports) or additional changes to UEFI (e.g., disabling “Deep Sleep”). Check the manufacturer’s documentation for any model-specific steps.
Here’s the standard procedure:
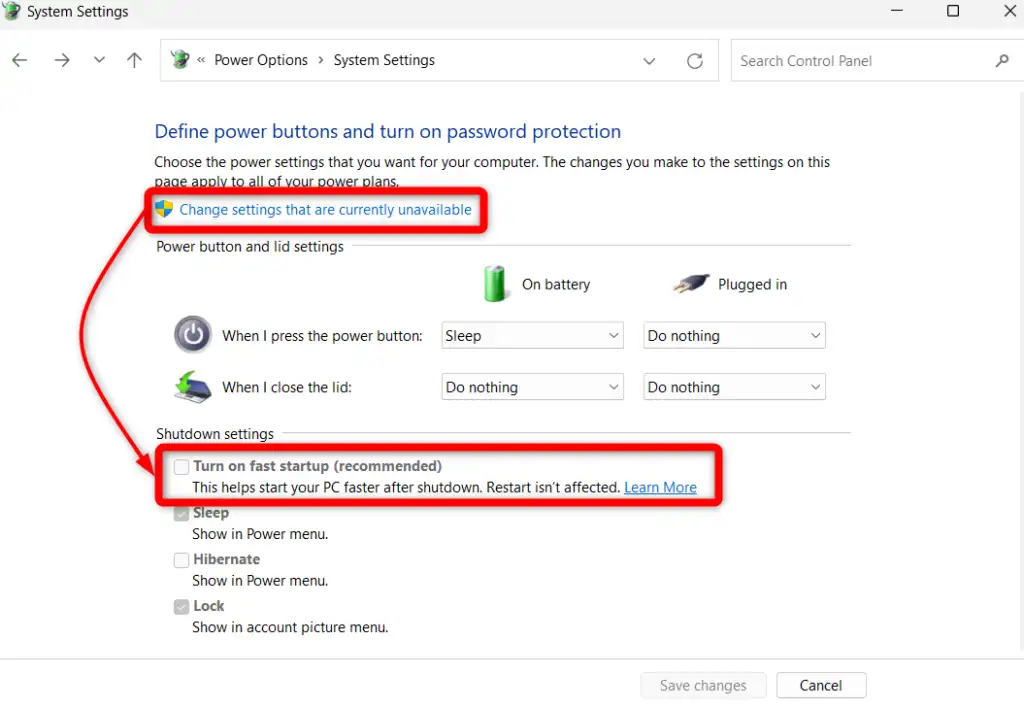
1. Disable Fast Startup
2. Adjust the Keyboard Settings in Device Manager

These steps should allow your USB keyboard to wake the computer from sleep. However, keep in mind that certain PCs or keyboards might not support this feature. You can apply the same settings for a USB mouse if needed.
Related Article
For additional information on preventing USB disconnections after sleep, check out:
USB Devices Disconnected After Sleep (Resolved by Disabling USB Selective Suspend)
ad