ad
Overview
This article discusses the use of experimental Local LLMs. This article will be updated regularly.
This approach can be useful in situations where you don't want to pay for cloud LLMs, or when you need to work with information that can't be uploaded to general generative AI, such as company or personal information.
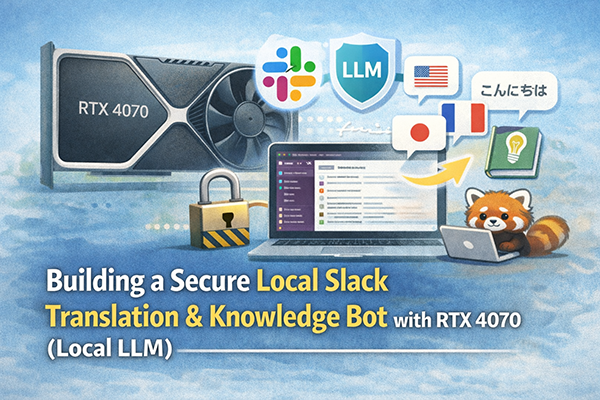
This is possible because you can build an AI bot for Slack using your own PC. I'll demonstrate how to use LLMs, even with a relatively small amount of GPU RAM, such as 8GB on an RTX 4070. Specifically, the "TranslateGemma:4b" model, which has a small model size and a very small quantization bit (4 bits), can run with only around 4GB of GPU RAM.
Built environment
Incorporating the specified Python version (3.12) and the use of venv for the development environment:
"This project will be built using Python version 3.12.
You'll need to install the following modules:
I'll be using a venv environment to keep things simple and avoid potential conflicts with other projects. This ensures that the project has its own isolated dependencies."
App settings
We will be using Ollama to access the Local LLM.
Please install Ollama and any other LLMs you wish to use. For this example, I'll be using the "translategemma:4b" model. You can find it here:
https://ollama.com/
You'll also need to set up a bot and API key in your Slack workspace.
Slack API Configuration (Most Important Points)
Instead of allowing external access to your home PC, we will use Socket Mode to connect to Slack. This allows your home PC to "reach out" to Slack.
① App Creation
② Permission Settings
③ Enable Socket Mode and Event Subscriptions
- Add
app_mentionto "Subscribe to bot events" and save.
Code
Assuming you have Python 3.12 installed on your Windows machine. If not, please install it from the official website.
Create a new project folder within your user's Documents folder, and create a Python virtual environment inside that folder.
cd ~\documents
mkdir local-llm-slackbot
cd local-llm-slackbot
py -3.12 -m venv venvNext, activate the .venv environment and install the Slack official framework and the requests library using pip.
.\venv\Scripts\activate
py -m pip install --upgrade pip
pip install slack-bolt requests
deactivate
explorer .Now, make sure the folder named local-llm-slackbot is open in your terminal.
Create a new Python file named app.py inside that folder, and paste the following code into it. Then, paste the two Slack tokens into the appropriate places.
Finally, replace "OLLAMA_MODEL" with the name of the LLM model you are using via Ollama. You will launch it from the terminal."
import requests
from slack_bolt import App
from slack_bolt.adapter.socket_mode import SocketModeHandler

# ==========================================
# 1. Token declaration (rewrite this)
# ==========================================
SLACK_BOT_TOKEN = "xoxb-xxxxxxxxxxxxxxxxxxxxxxxxxxxxxxxxxxxxxxxxxxxxxxxxxxxxxxxx"
SLACK_APP_TOKEN = "xapp-xxxxxxxxxxxxxxxxxxxxxxxxxxxxxxxxxxxxxxxxxxxxxxxxxxxxxxxxxxxxxxxxxxxxxxxxxxxxxxxxxxxxxxxxxxxxxxxxxxx"
OLLAMA_MODEL = "translategemma:4b"  # Model name to be used

# Initializing the App
app = App(token=SLACK_BOT_TOKEN)

# ==========================================
# 2. History management dictionary
# { "user ID": [message log list] }
# ==========================================
user_histories = {}

@app.event("app_mention")
def handle_mention(event, say):
    user_id = event['user']
    # mention(<@U...>)Remove to get the pure question
    raw_text = event['text']
    user_query = raw_text.split('> ')[-1] if '> ' in raw_text else raw_text

    # If there is no history for that user, initialize
    if user_id not in user_histories:
        user_histories[user_id] = []

    # Add user's question to history
    user_histories[user_id].append({"role": "user", "content": user_query})

    # For debugging: show who is talking to you in the terminal
    print(f"User {user_id} says: {user_query}")

    # Ollama to Requests
    try:
        # Understanding the "context" by sending the entire history as messages
        response = requests.post(
            'http://localhost:11434/api/chat',
            json={
                "model": OLLAMA_MODEL,
                "messages": user_histories[user_id],
                "stream": False
            },
            timeout=60  # Set response waiting time
        )
        response.raise_for_status()

        # AIの回答を取得
        result = response.json()
        answer = result.get('message', {}).get('content', "Sorry, we were unable to generate an answer.")

        # AI answers are also added to the history (to provide context for the next conversation)
        user_histories[user_id].append({"role": "assistant", "content": answer})

        # 【Token Saving and Memory Management】
        # If the history is too long, it will put pressure on VRAM and slow down inference, so it is limited to the most recent 10 round trips.
        if len(user_histories[user_id]) > 20:
            user_histories[user_id] = user_histories[user_id][-20:]

        # Slack to Reply
        say(f"<@{user_id}> \n{answer}")

    except Exception as e:
        error_msg = f"An error has occurred: {str(e)}"
        print(error_msg)
        say(error_msg)

# ==========================================
# 3. 実行
# ==========================================
if __name__ == "__main__":
    print(f"⚡️ Bolt app is running with model: {OLLAMA_MODEL}")
    handler = SocketModeHandler(app, SLACK_APP_TOKEN)
handler.start()使い方
Open your terminal.
Start the Ollama instance and launch your app.
ollama run translategemma:4bKeep the Ollama terminal open, and then open a new terminal window to launch your app.
cd ~\documents\local-llm-slackbot
.\venv\Scripts\activate
python app.pyOnce your app is running, you'll see a message in the terminal that says something like: "Bolt app is running!"
Now you can start communicating with your local LLM-powered Slack bot from your Slack workspace.

In your Slack workspace, invite the bot you created to the desired channel.

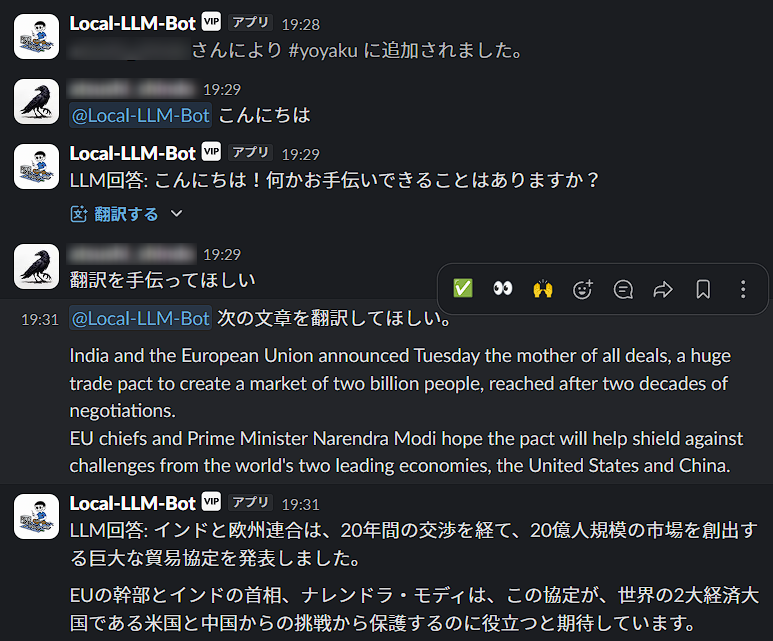
When you mention the bot in a Slack channel, it should respond.
The "translategemma:4b" model, with its 4-bit quantization, requires relatively little GPU RAM. Furthermore, it's specifically designed for translation, resulting in good translation quality. Also, the script is configured to handle responses on a per-user basis.
When you want to shut down Ollama, type the following command in the terminal
ollama /byeTo exit the app.py script, you can use Ctrl+C to return to the .venv environment.
ad