Overview
What is a Windows Update failure?
Windows Update releases critical security patches at least once a month. Failing to install these updates increases the risk of external attacks targeting vulnerabilities in your OS or software. Therefore, leaving an update in a "failed" state is something you want to avoid.
This guide focuses on troubleshooting steps for home users. It does not cover managed environments like WSUS or Microsoft Intune.
Furthermore, the steps provided here will not result in any data loss.
Step 1: "Retry"
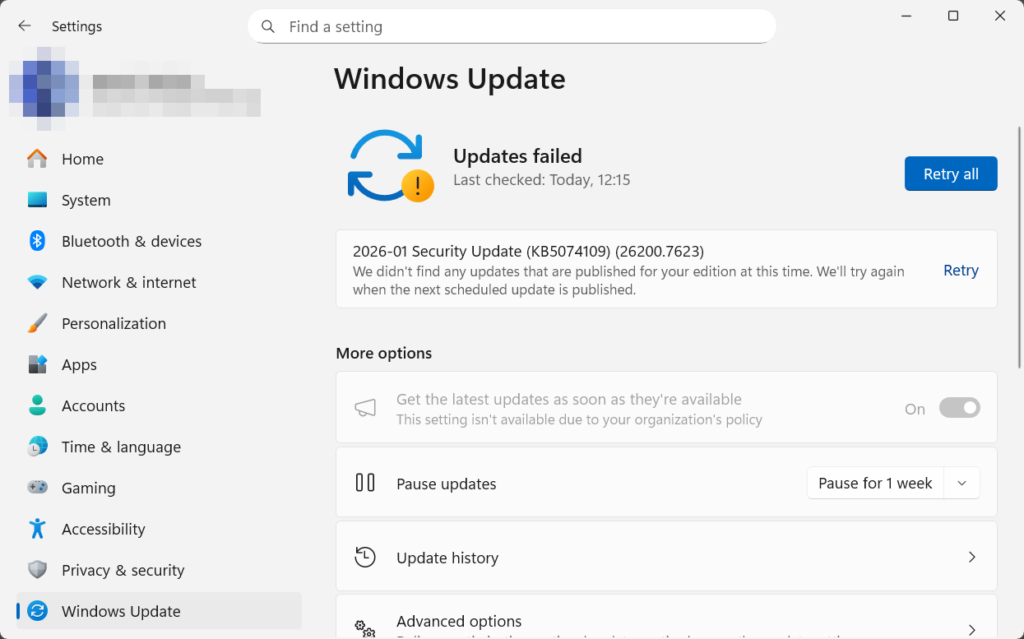
This applies if you see the message "Updates failed" on the Windows Update screen. If the failure was caused by a minor issue, such as a temporary network disconnection, clicking retry should complete the installation. If it fails again, move on to the next step.
Step 2: Use the OS Recovery Feature
Since the release of Windows 11 version 24H2 (and subsequent updates like 25H2), this method has become a common solution reported online.
Note: This process can take about an hour or longer. Please ensure you have enough time. If you are using a laptop, make sure it is plugged into a power source.
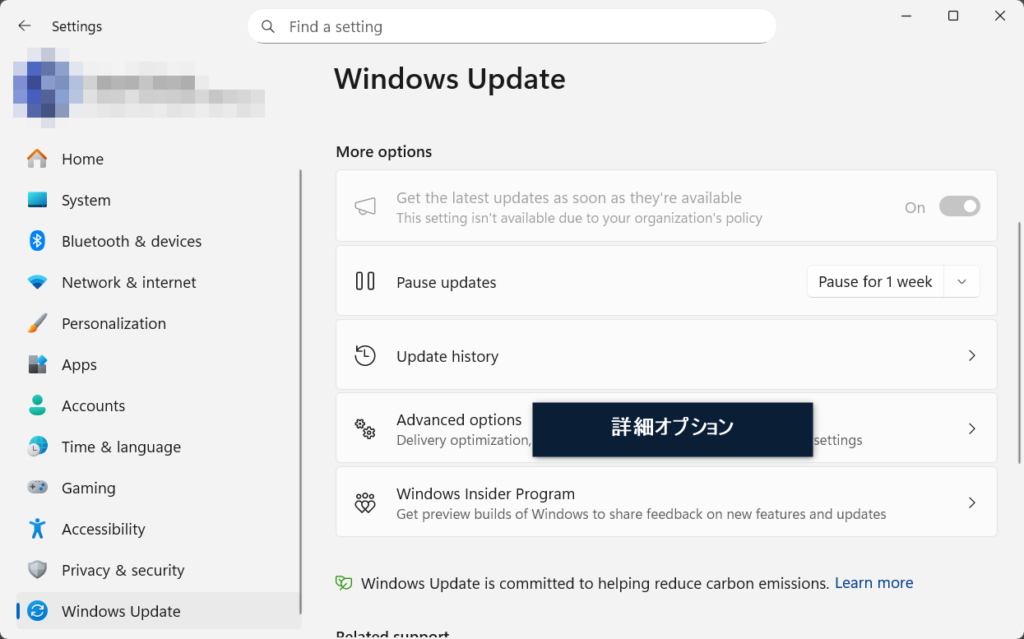
1. Go to Settings > Windows Update and click Advanced options.
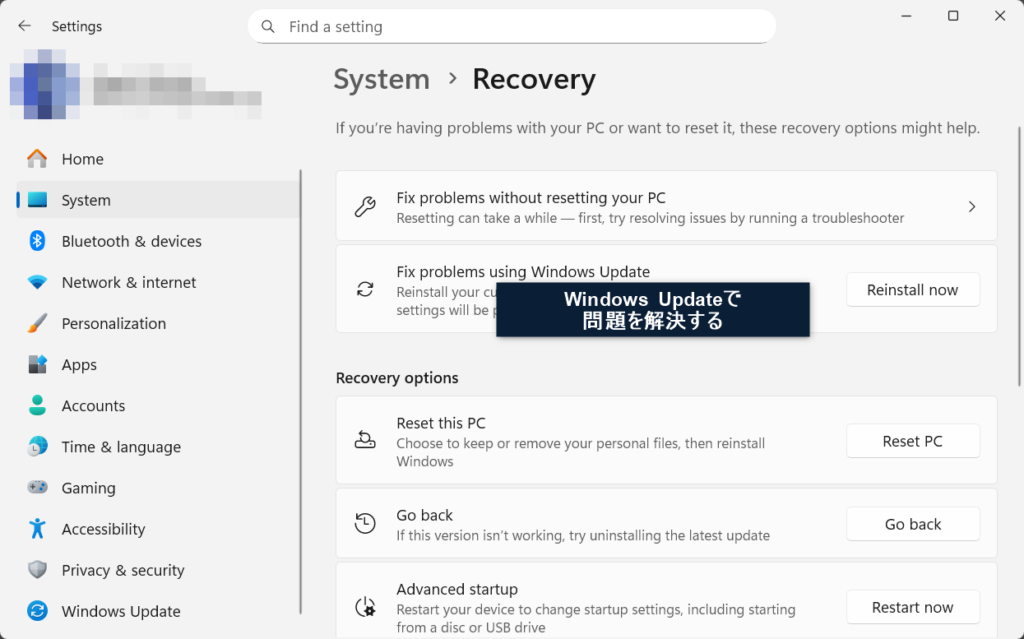
2. Click Recovery.
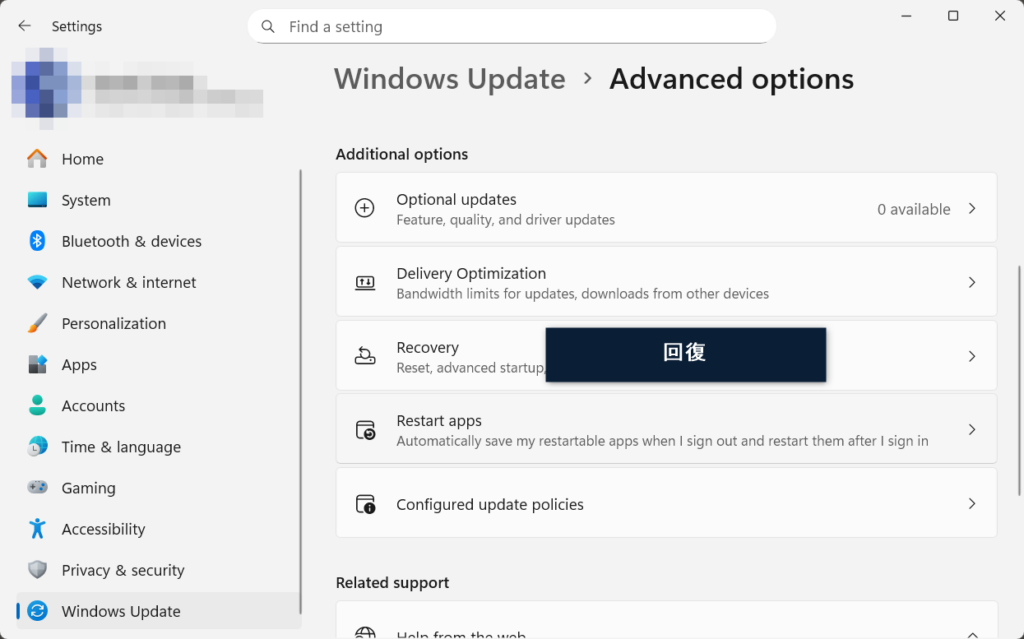
3. Under "Fix problems using Windows Update," click Reinstall now.
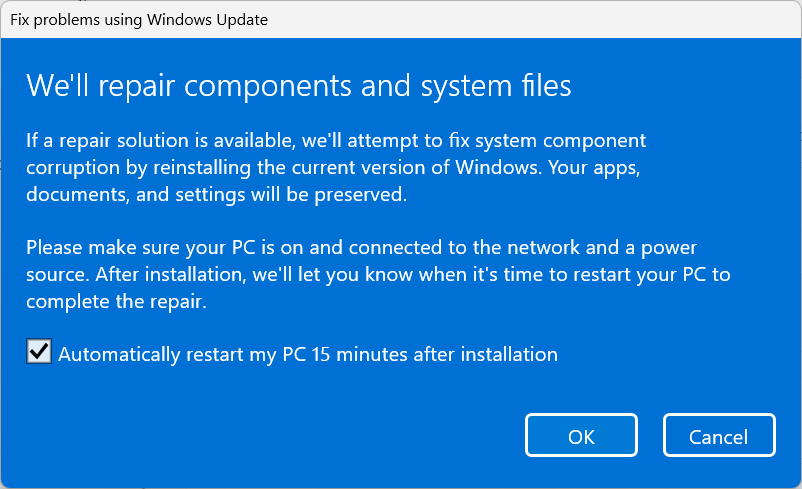
4. A blue confirmation screen will appear. Check the box and click OK.
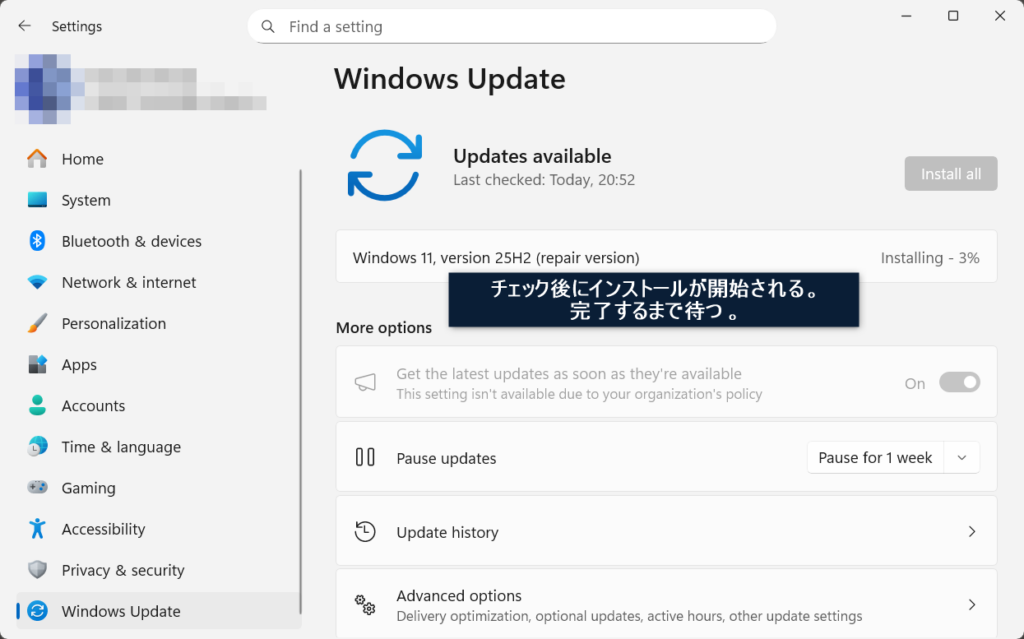
5. After the initial check, the installation will begin. Leave it alone until the "Restart" prompt appears.
6. Once prompted, Restart your PC. Note that Windows will apply updates during the restart process, which may take some time.

7. Once the update is complete (indicated by a black screen finishing the process) and you can sign back into Windows, you’re all set. As a final check, open Windows Update to confirm there are no remaining errors. Nice work!
Step 3: Clear Update Cache and Retry
In rare cases, the update files already downloaded to your PC may be corrupted, preventing a successful install. This requires running commands in PowerShell or Terminal. Since this involves several steps, please expand the section below only if needed.
Step 0: Preparation
- Close all open applications.
- Plug in your laptop's charger.
Step 1: Open Command Prompt as Administrator
Step 2: Stop Windows Update Services
1. Copy and paste the following four lines into the black window one by one, pressing Enter after each:
net stop wuauserv
net stop bits
net stop cryptsvc
net stop msiserver
2. Confirm that each service reports "The service was stopped successfully." (If you see "could not be stopped" or "not found," it’s usually fine to proceed.)
Step 3: Rename (Clear) Update Folders
Run the following two commands one by one:
ren C:\Windows\SoftwareDistribution SoftwareDistribution.old
ren C:\Windows\System32\catroot2 catroot2.old
Troubleshooting this step:
- If successful, nothing will appear, and it will simply move to the next line.
- If you get an error saying the folder already exists, use a different name like this:
ren C:\Windows\SoftwareDistribution SoftwareDistribution.old2
ren C:\Windows\System32\catroot2 catroot2.old2
Step 4: Restart Services Run these four commands:
net start msiserver
net start cryptsvc
net start bits
net start wuauserv
Confirm that each says "The service was started successfully."
Step 5: Restart your PC
Go to Start > Power > Restart.
Step 6: Run Windows Update Again
Open Settings > Windows Update and click Check for updates.
Additional Repairs (If you have extra time)
If the issue persists, run these two commands in the Admin Terminal:
DISM /Online /Cleanup-Image /RestoreHealthsfc /scannowHelpful Resources
- Official Microsoft Support
Troubleshooting problems updating Windows. - Advanced User Communities
Windows Latest
Neowin
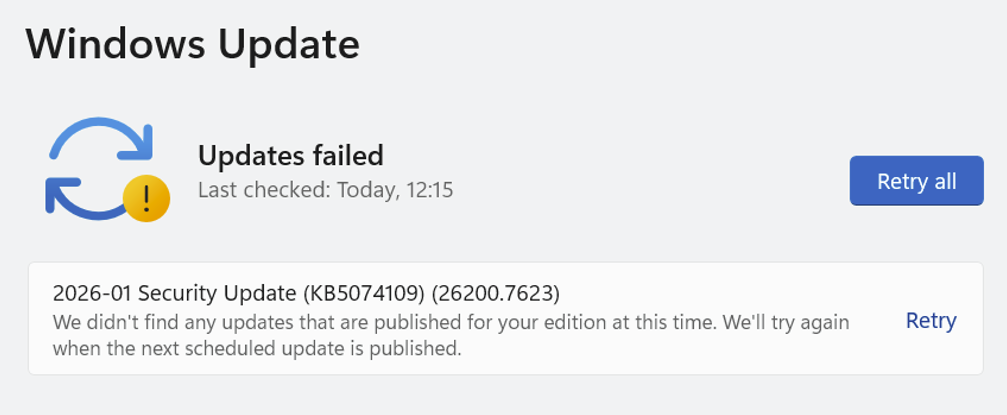
Pro-tip: When searching for solutions, use the specific error code or the KB number (e.g., KB5074109) to find discussions regarding your exact issue.
ad